Method; Cover a whole sheet of paper with charcoal so that you have a blank black rectangle. Make a drawing from a subject of your choice by drawing into the charcoal using a rubber or selection of rubbers. When you’ve worked into the charcoal for about an hour using just a rubber (depending on how fast you work), go back to your charcoal and begin to redraw in darker tones using the side of the charcoal. Continue in this way using the rubber as a white to the charcoal’s black and develop the drawing until you’re happy with it. Try to avoid using outlines – instead use sweeps of the rubber or the side of the charcoal to build up patches of tone. If you do use an outline, look at the two neighbouring tones, decide which is the darker and then blend the outline into that one. Bear in mind that as you move along the object’s silhouette, the relationships might change and the outline might switch allegiance.
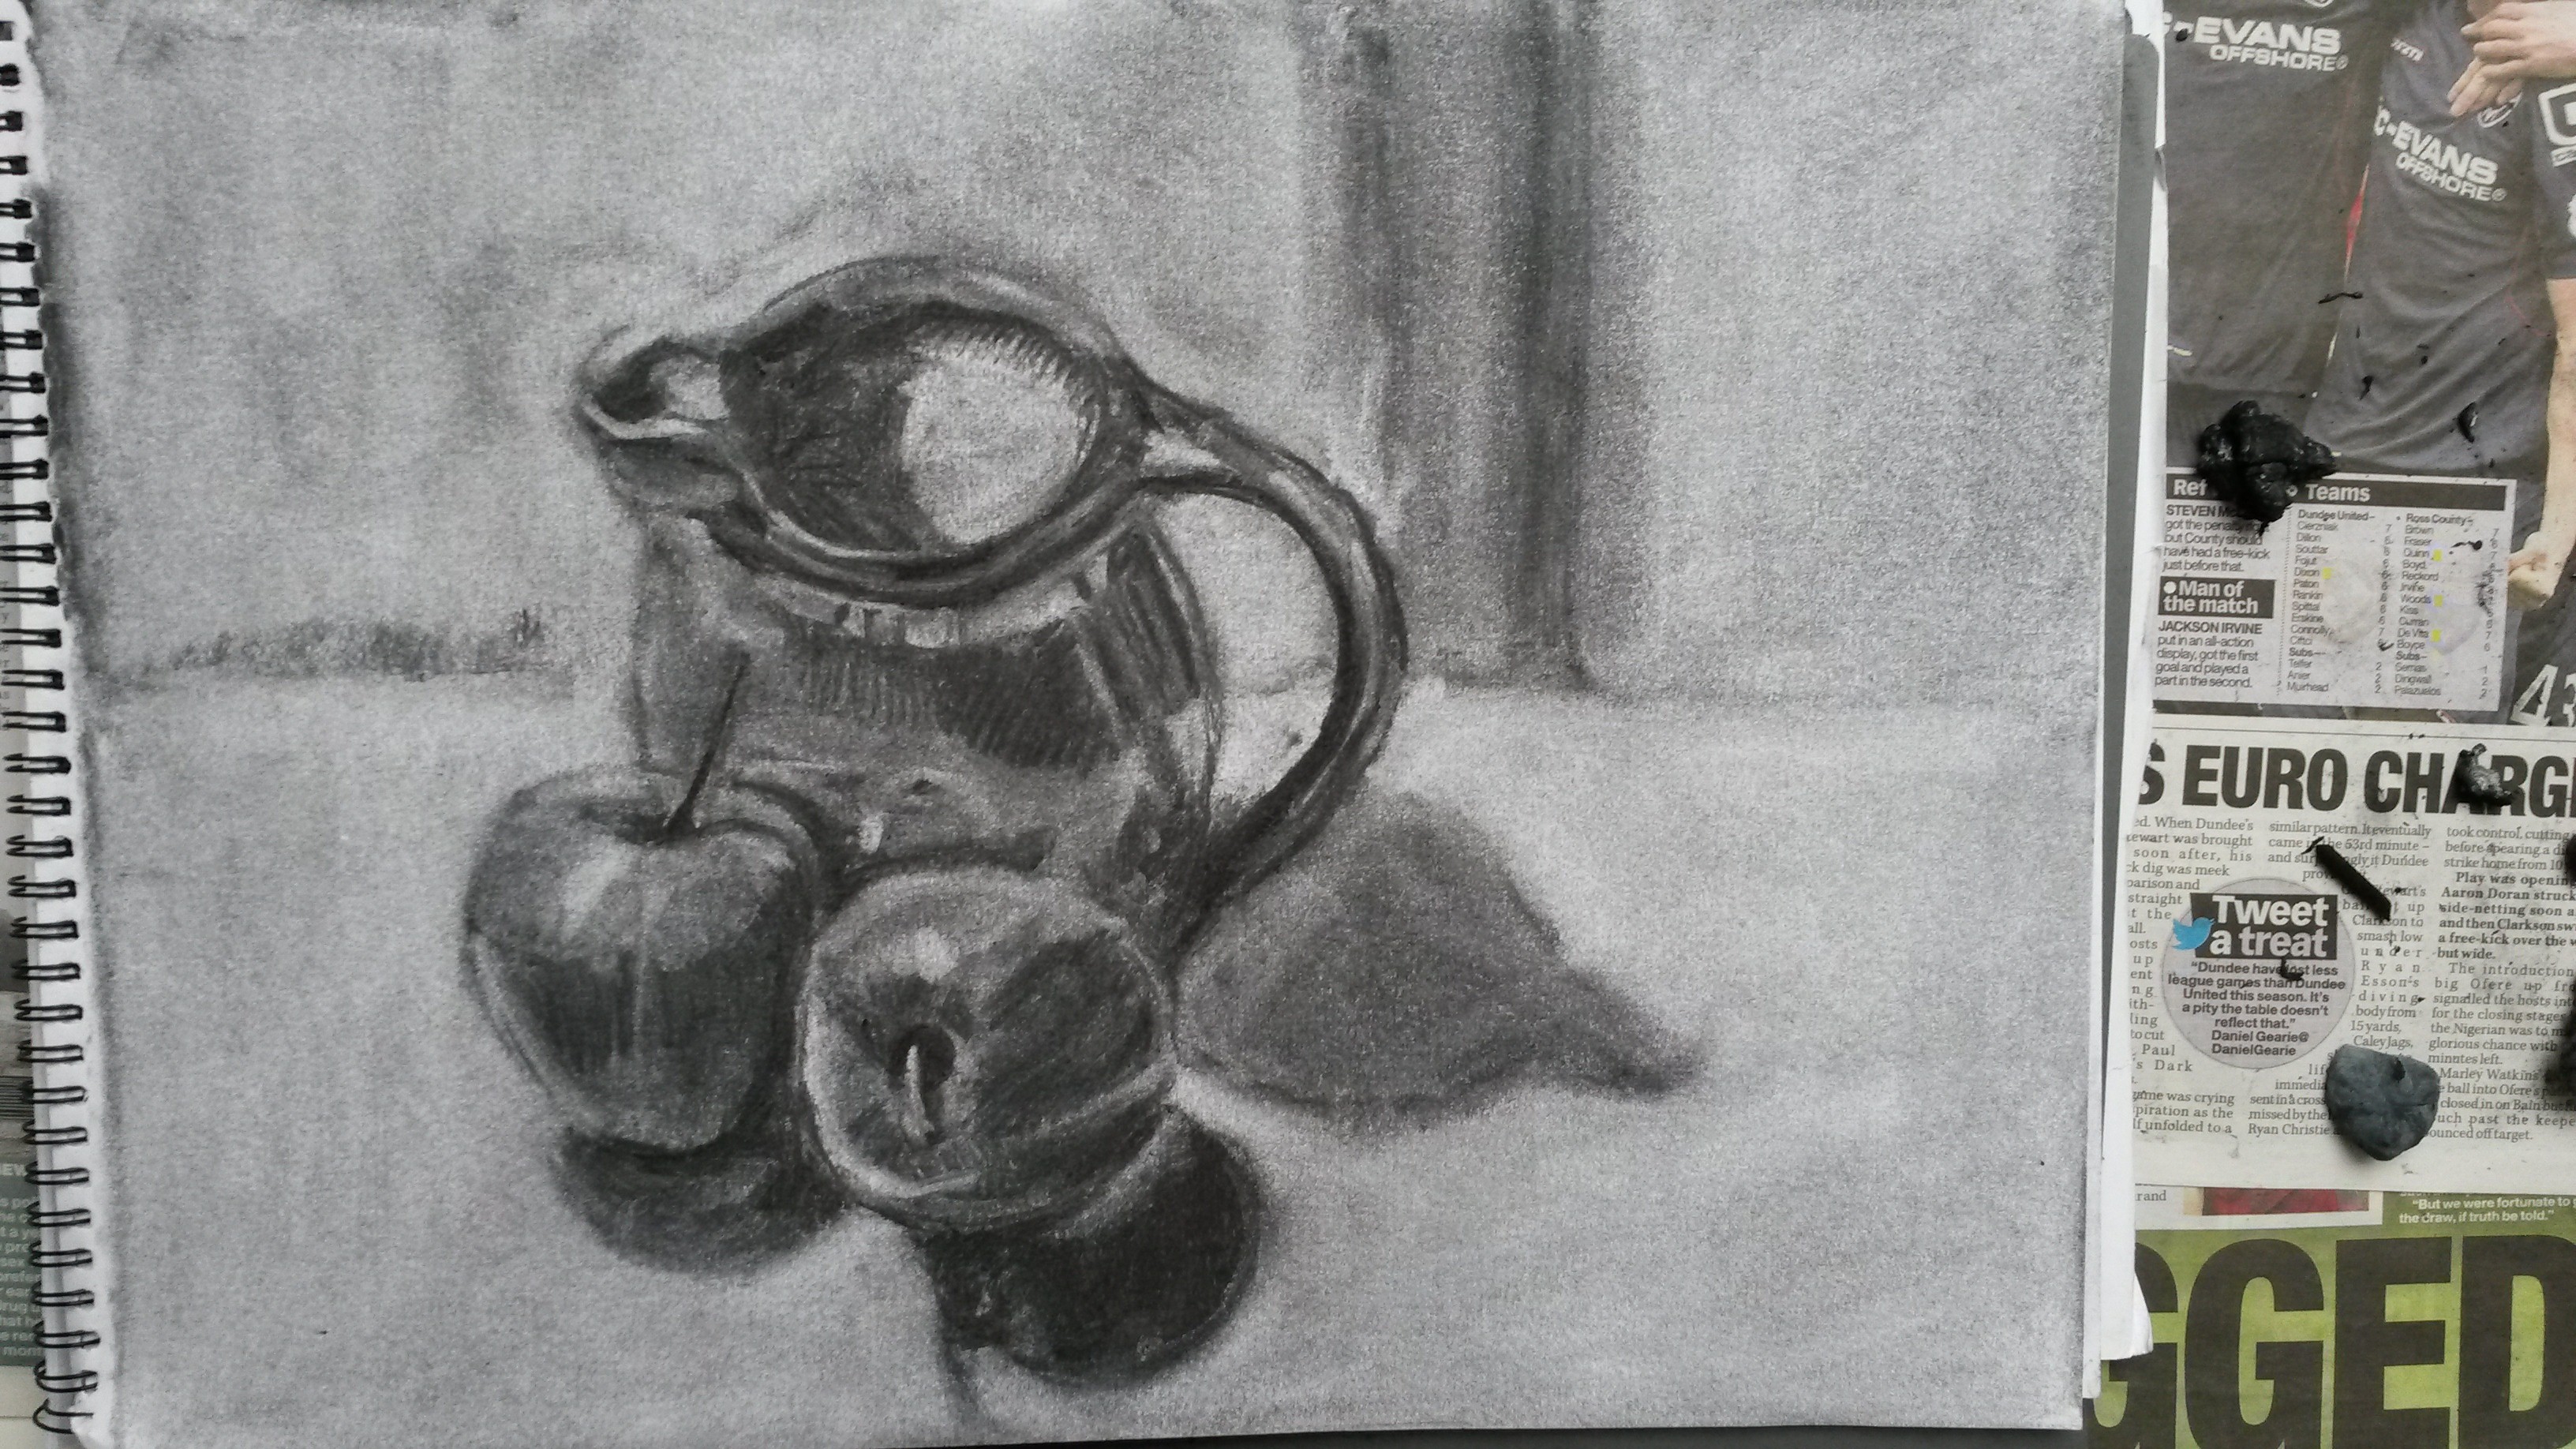
I have never tried this technique before. I decided to set up a small still life with apples and a jug. I used an A3 sketchbook and only had thin vine charcoal so I used it on it’s side to cover the page. I found it difficult to draw without lines at first. Similar to the way I found it difficult to paint the first time I did it without drawing an image first. I did have to correct it a few times, which was easy as you just cover the mistake with charcoal. Here is my first attempt.
And here is my second;
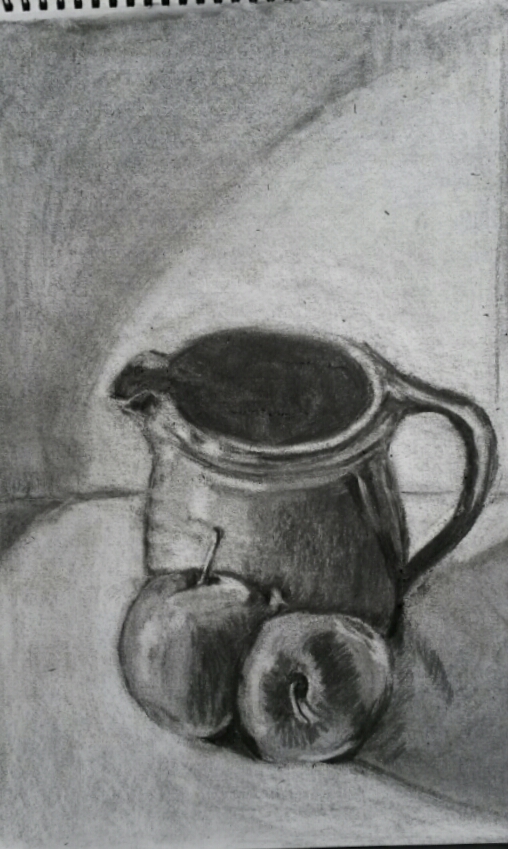
I was frustrated that I wasn’t getting any mid tones, just very dark or white, so I went on to You Tube and watched a tutorial, and quickly found that it was because I wasn’t blending the charcoal; just putting it on and taking it off again.
For my third attempt I set up a more challenging still life with a jug of white tulips, an apple and two patterned scarfs.
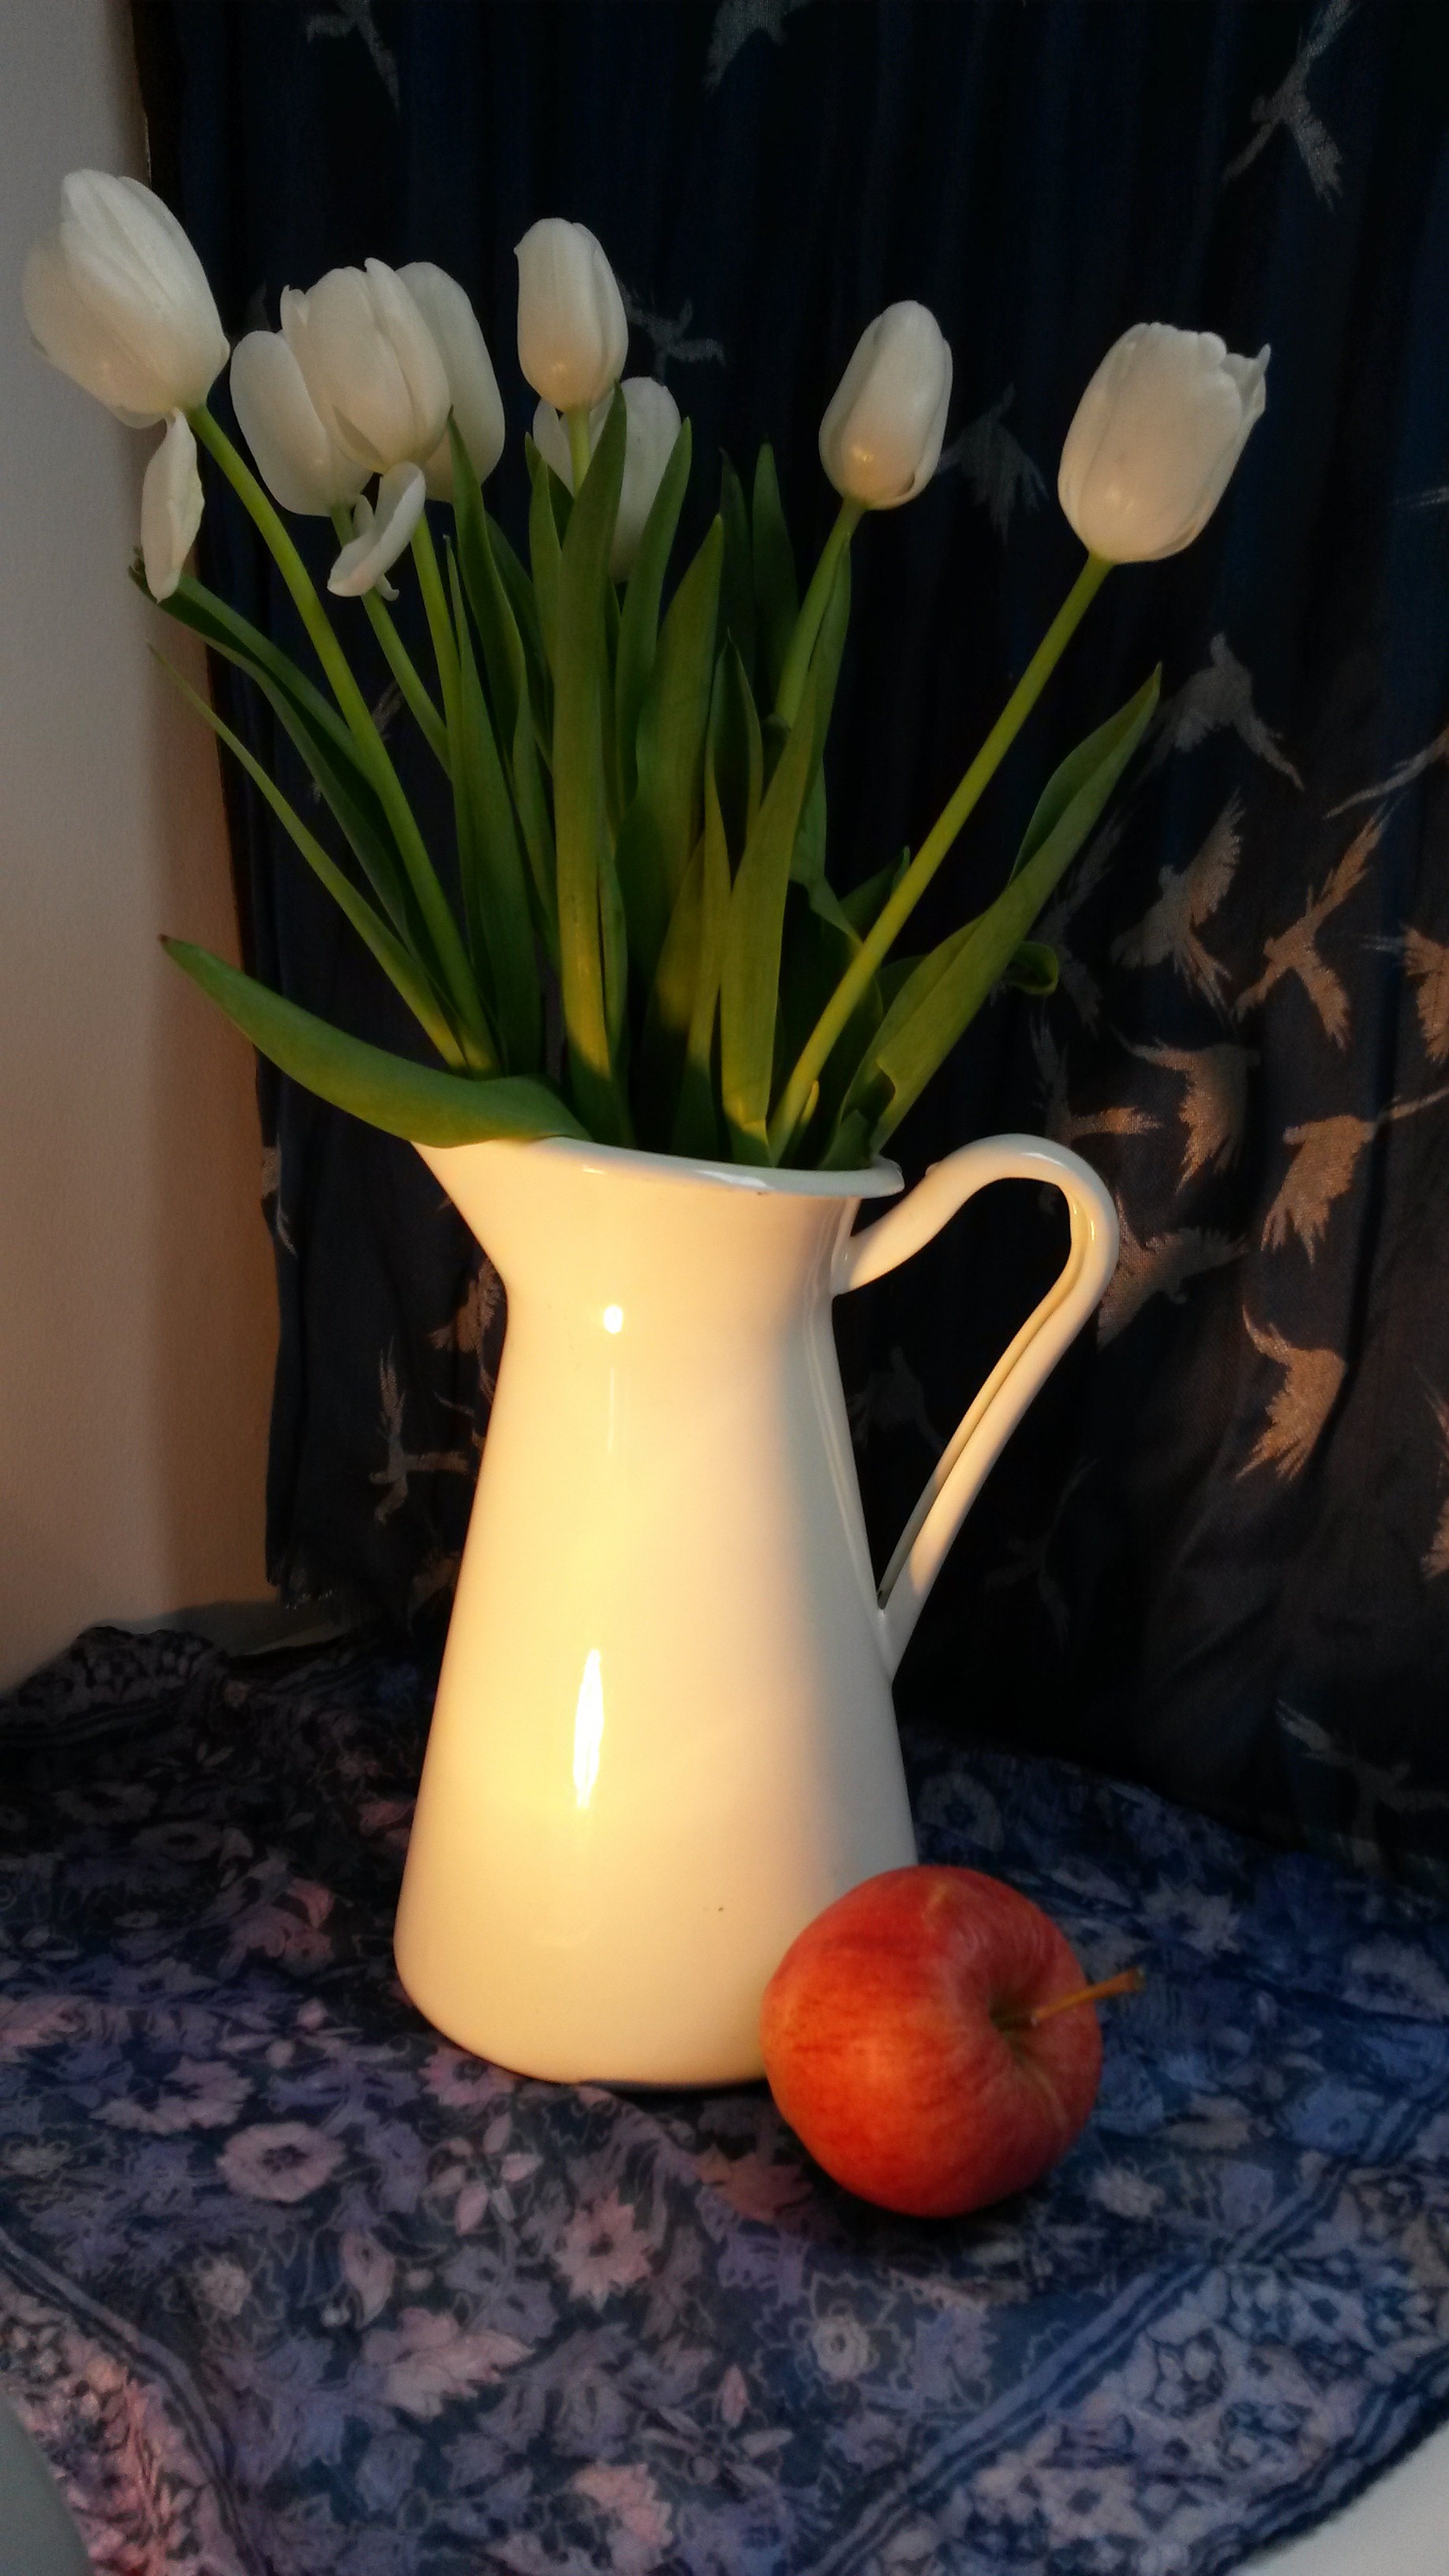
I used a heavier weight of cartridge paper this time, and at first was a bit dismayed to realise it had a tooth to it, so the white came through when I put the charcoal on. This time I blended the whole page of charcoal with a cotton wool pad. I then took out the lightest areas with the putty rubber, again finding it tricky without drawing the whole composition in with lines. I had to keep making corrections by covering it again in charcoal. I continued lifting out with the rubber and adding with the charcoal. For the patterned scarfs I just simplified the design, implying shapes with the rubber. I spent quite a long time on this and then left it to the next day to finish. It is extremely messy work, and when I went to start the next day I found my cat had walked across the page! Never one to miss an opportunity, I took some photos of her charcoal paw prints across the white desk to use in a later exercise; Found images.
I kept working, adding, taking away and correcting, and found it took a lot of patience to get a finished piece I was happy with.

I am happy with this result and when I posted it on OCA Sketchbooks on Facebook, one of my fellow students commented that it had the look of a Scottish Colourists about it, which I was obviously pleased about.
